Introduction
Adding a contact form to your website is essential for enhancing communication with your visitors. Whether you run a blog, an online store, or a portfolio, a well-designed contact form allows users to reach out easily. In this guide, we will walk you through the steps to add a contact form to your website effectively, focusing on best practices in website development.
1. Choose a Form Builder
The first step to add a contact form is selecting a form builder that suits your needs. Here are a few popular options:
- WordPress Plugins: If your site runs on WordPress, plugins like Contact Form 7, WPForms, or Ninja Forms make it easy to create customizable forms.
- Website Builders: For those using website builders like Wix or Squarespace, built-in contact form features can be utilized without any coding skills.
- Custom Code: If you have coding experience, you can create a contact form using HTML, CSS, and JavaScript, allowing for complete customization.
2. Design Your Form
Once you’ve chosen a form builder, it’s time to design your form. Consider the following elements:
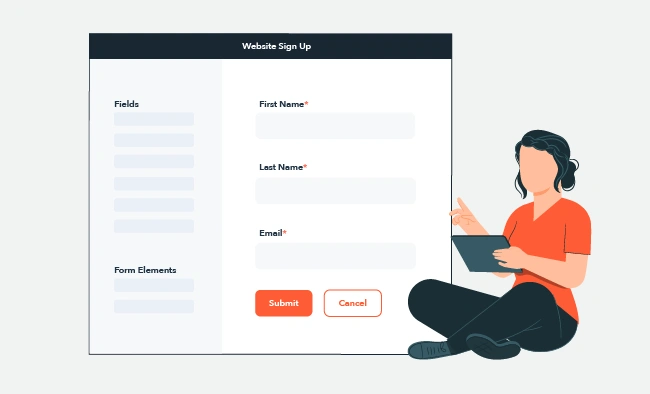
- Essential Fields: At a minimum, include fields for the user’s name, email address, and message. Additional fields like phone number or subject can be added based on your needs.
- User-Friendly Layout: Ensure the form is visually appealing and easy to fill out. Use clear labels and maintain a clean design that aligns with your website’s overall style.
- Validation: Implement form validation to ensure users fill in all required fields and provide valid email addresses.
3. Add the Form to Your Website
After designing your form, it’s time to add a contact form to your website. The process may vary depending on your platform:
- WordPress: For plugins, simply follow the plugin’s instructions to embed the form using a shortcode or block.
- Wix/Squarespace: Drag and drop the contact form element into your desired page and customize it.
- Custom Code: If you’re coding your form, insert the HTML code where you want the form to appear on your website.
4. Configure Notifications
To ensure you receive inquiries from your website, configure notification settings:
- Email Notifications: Set up email notifications to receive submissions directly to your inbox. This feature is available in most form builders.
- Confirmation Messages: Consider adding a confirmation message that users see after submitting the form, letting them know their message was received.
5. Test Your Form
Before launching, it’s crucial to test your contact form:
- Submission Tests: Fill out the form yourself and submit it to ensure it works correctly. Check if you receive notifications and if the data is stored as expected.
- Mobile Responsiveness: Test the form on different devices to ensure it displays and functions properly on mobile and desktop.
6. Monitor and Optimize
Once your contact form is live, keep an eye on its performance:
- Analyze Submissions: Regularly check form submissions and user feedback. This data can help you optimize the form for better user experience.
- Adjust Based on User Behavior: If you notice users dropping off before submitting, consider simplifying the form or addressing any usability issues.
Conclusion
Adding a contact form to your website is a straightforward process that significantly enhances user engagement. By choosing the right tools, designing an intuitive form, and configuring notifications, you can improve communication with your visitors. If you need help with website development or optimizing user interactions on your site, our team at eInfluenz is here to assist you. Let’s make your website more interactive and user-friendly!


